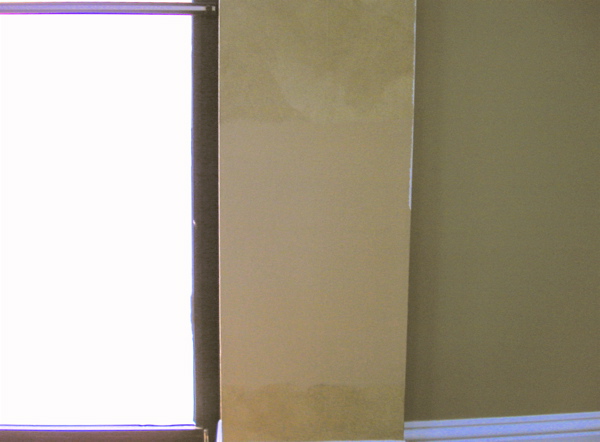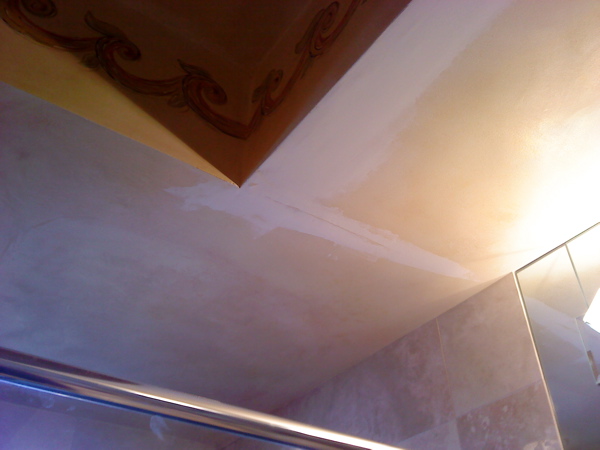
I was asked earnestly to see if I could fix another faux painted wall that had been damaged by water. I informed the customer that trying to match an existing faux finish was never an easy job.
What made this project even more difficult was that I didn't know what base coat colors the walls were originally painted nor what colors were used for the
faux finishing. In addition, the faux painting technique that was used was not known either. But praise the Lord, He guided me through the steps I needed to do. The customer was quite thrilled because I initially told him that it would be nearly impossible to get the areas to match the original faux finish since I wasn't the artist who painted them.
 However, after seeing them in person (the customer only explained the problem over the phone), I was more hopeful that I could fix them. There was large areas that had been spackled with joint compound. None of the areas had been sanded or painted.
So initially I thought I would prime the area and paint it with an off white base coat but after testing a small area, I realized it would not look the same.
 The reason was that it seems that the person who originally faux painted the wall, did so on a flat sheen base coat. The sheen I had was satin, since that is the base coat sheen I usually faux paint with. After praying a bit and asking for wisdom, I got an idea. Since I didn't have any flat wall paint with me, I decided to add some white bottled acrylic paint to my colors so that the white would make the paint less transparent. This enabled me to make the section I was fixing blend better with the existing faux finish.
  I remembered that once I had done a job where I needed to cover an existing base coat paint because the client hated it. If I just faux painted over it, the base coat color would still show through. So I did a faux finish color wash but using only paint with no glaze. That caused the paint I used on top to cover the existing base coat color because the paint was not as transparent because I didn't mix it with a glaze. This is something you learn quickly when using faux painting glazes.
So I figured I would try to do somewhat of the same thing this time, but I did add a little bit of glaze. Well, it worked and again, I give all the glory to Christ, who never lets me down. Since I regularly ask that He alone would open the doors of opportunity to offer my services as a faux finisher, I know that even when it seems impossible, it's not. Take this tip from me, and learn from a faux painting professional, who has been there, done that!